(305).360°
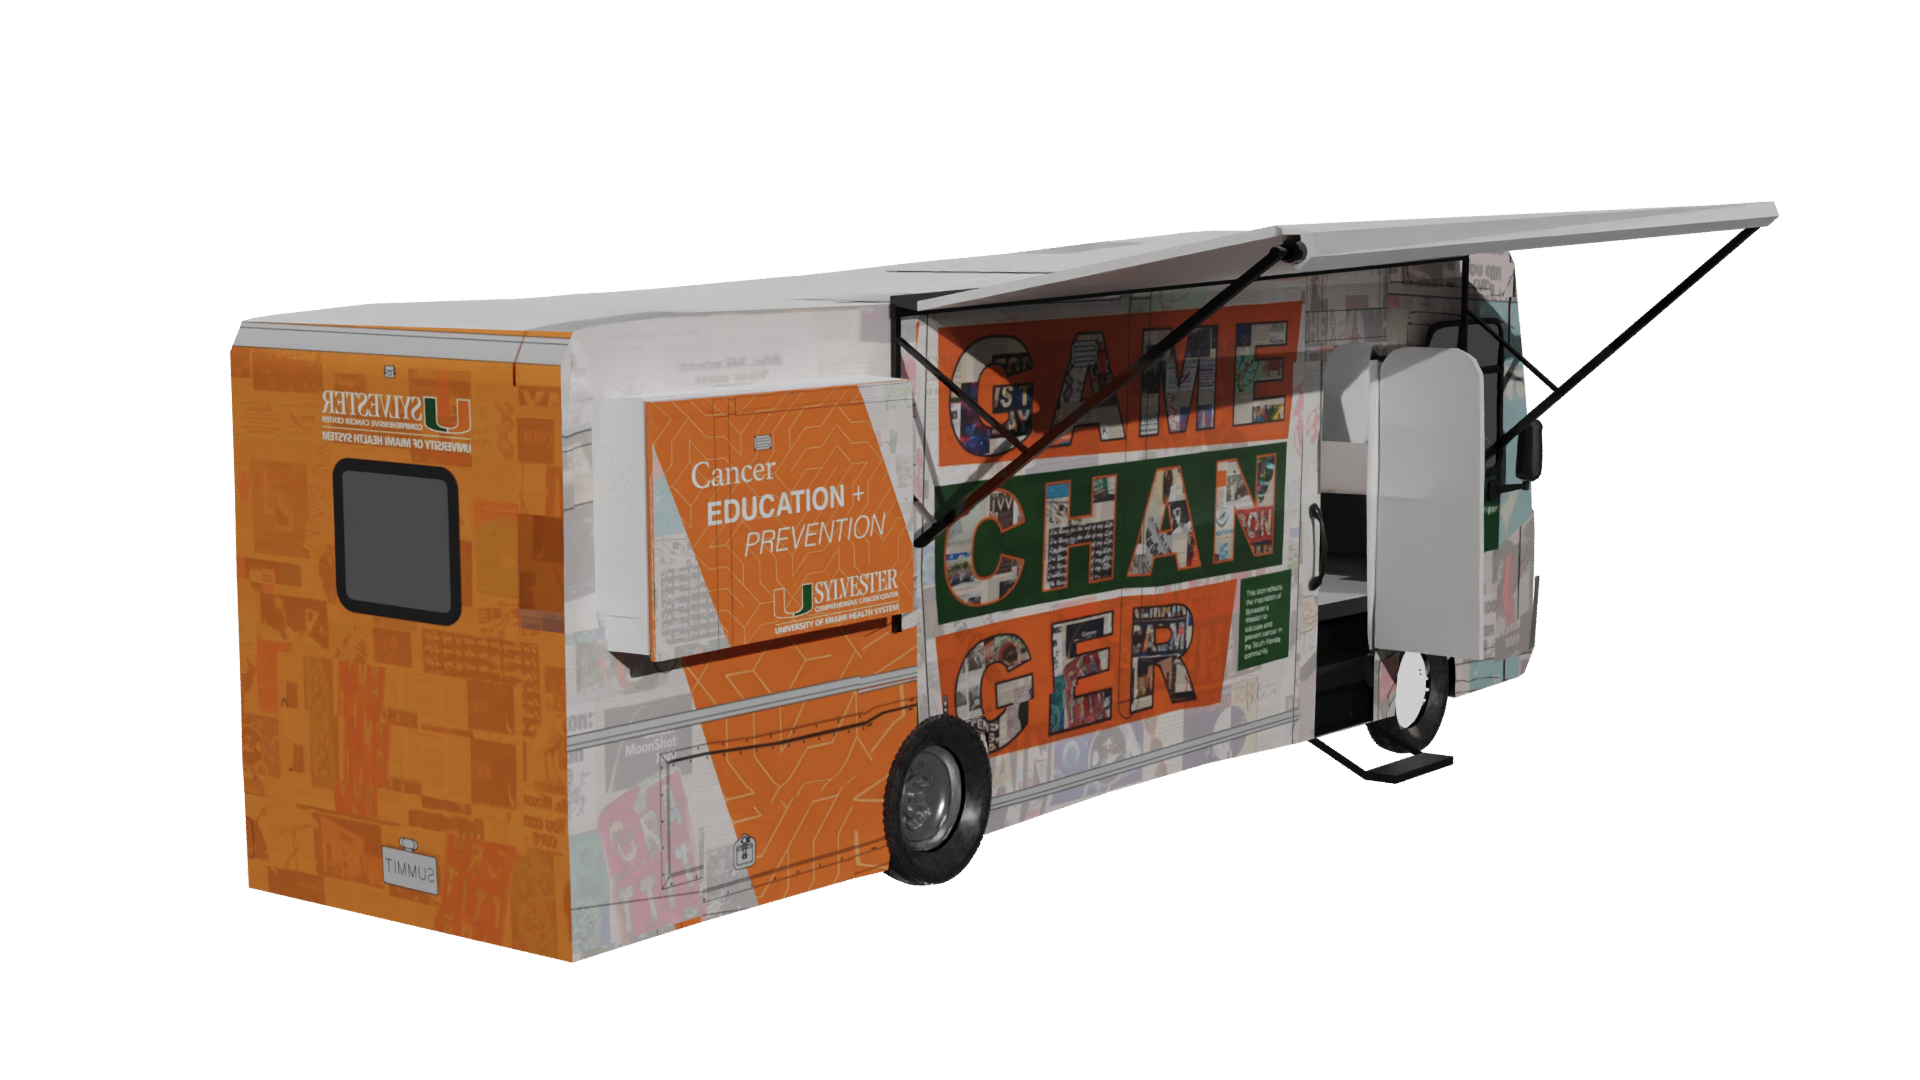
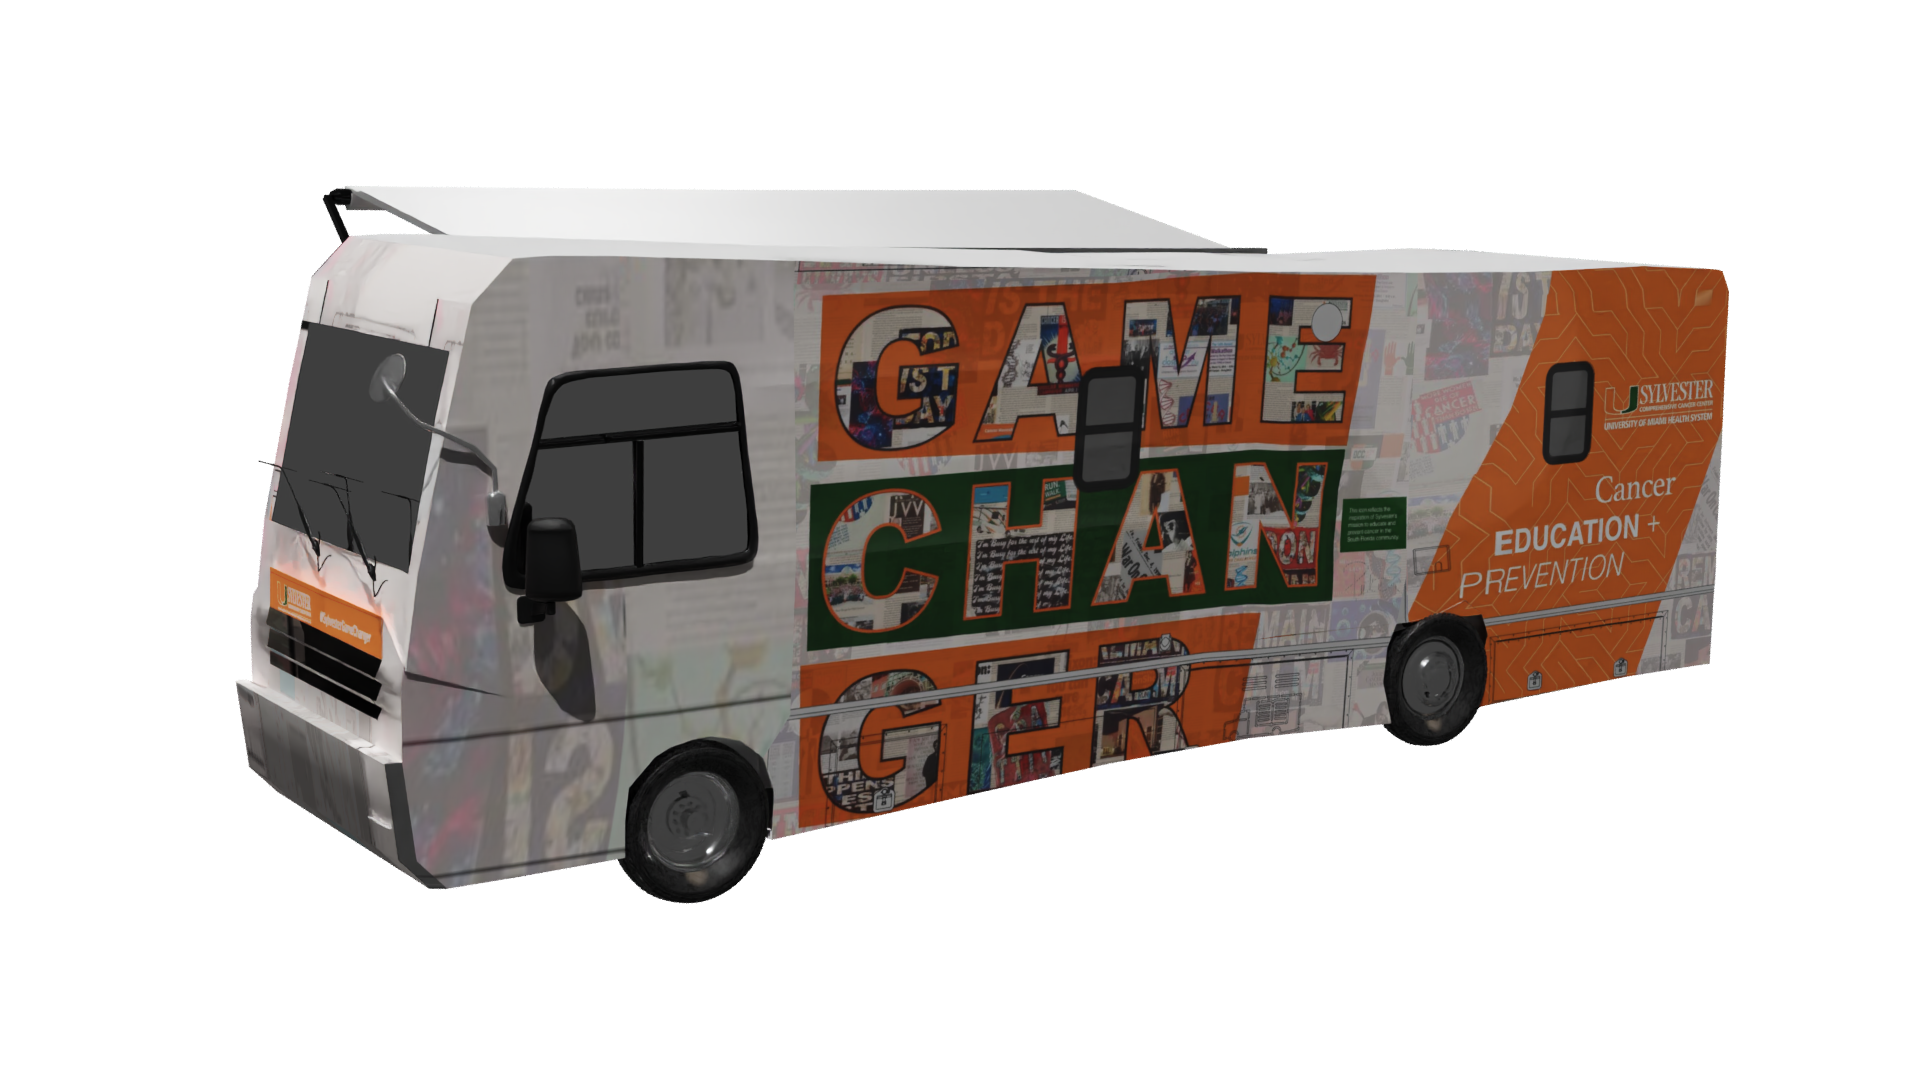
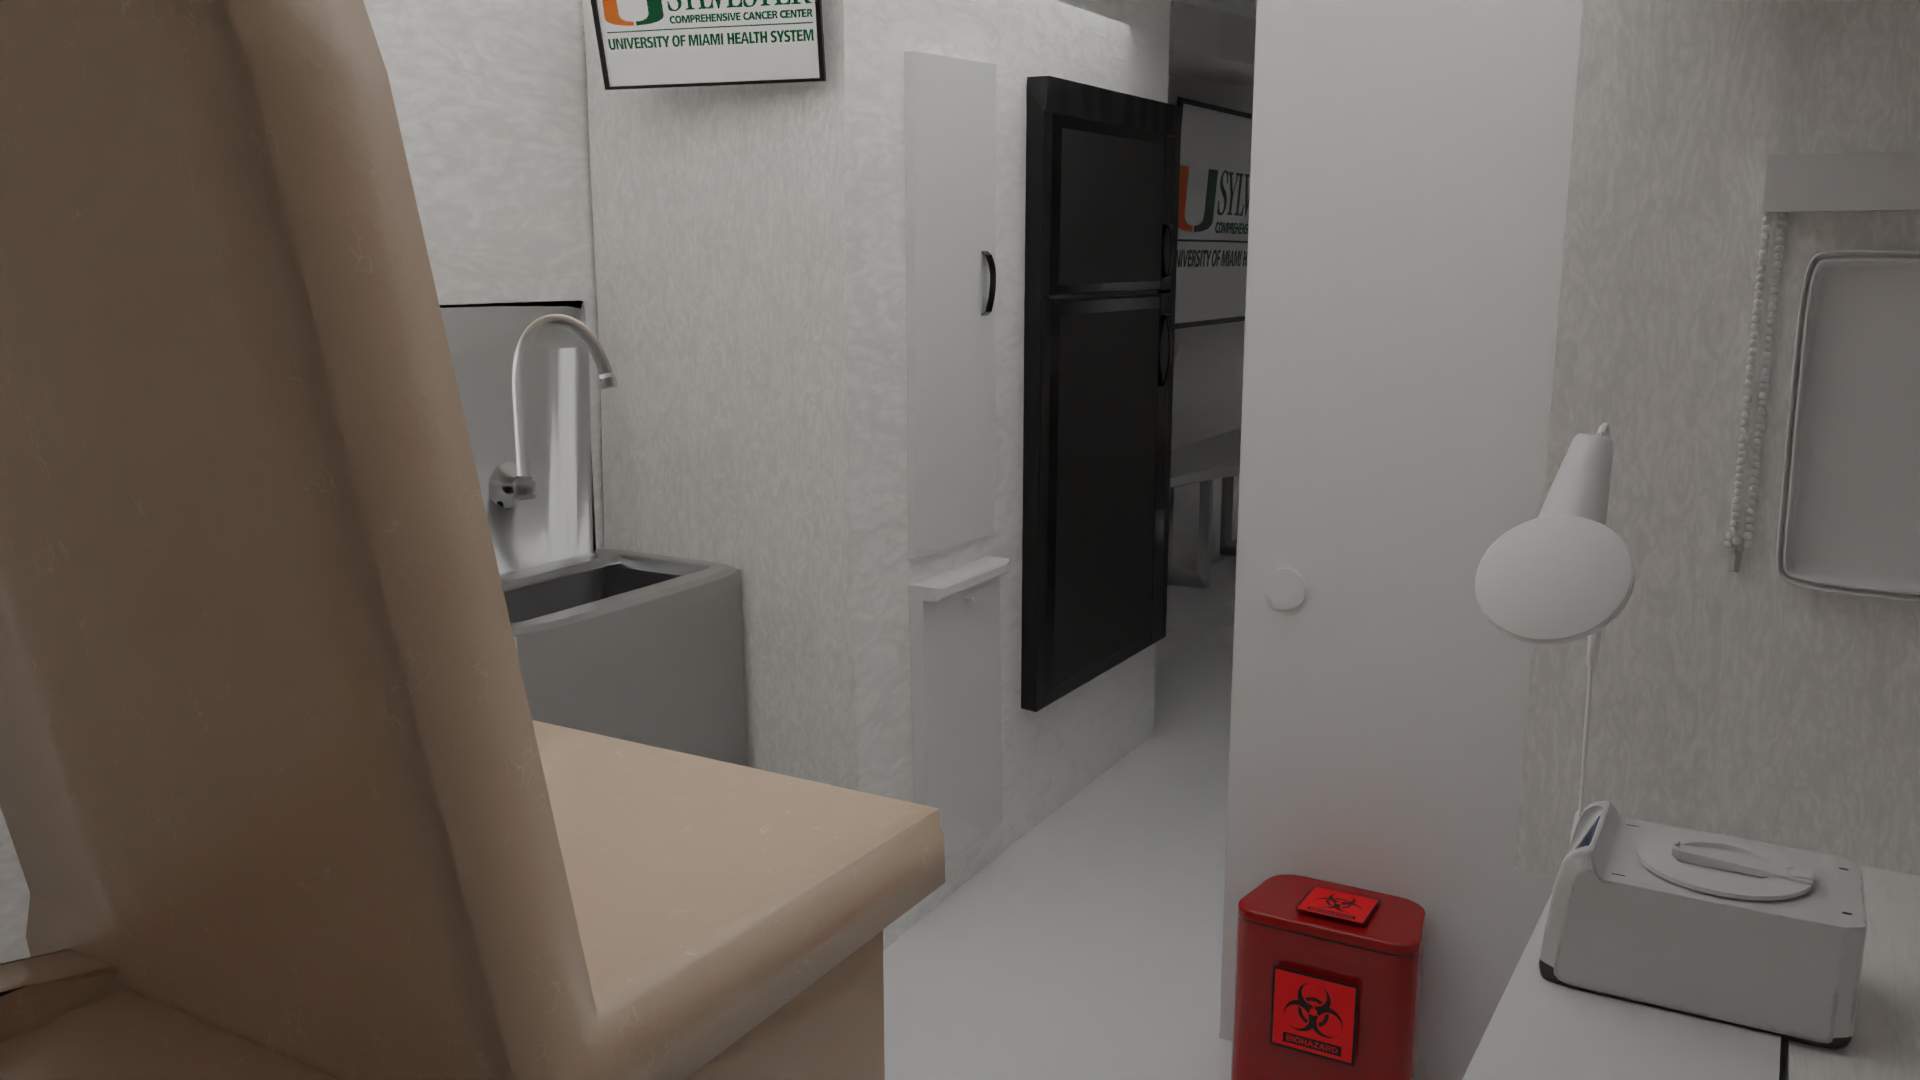
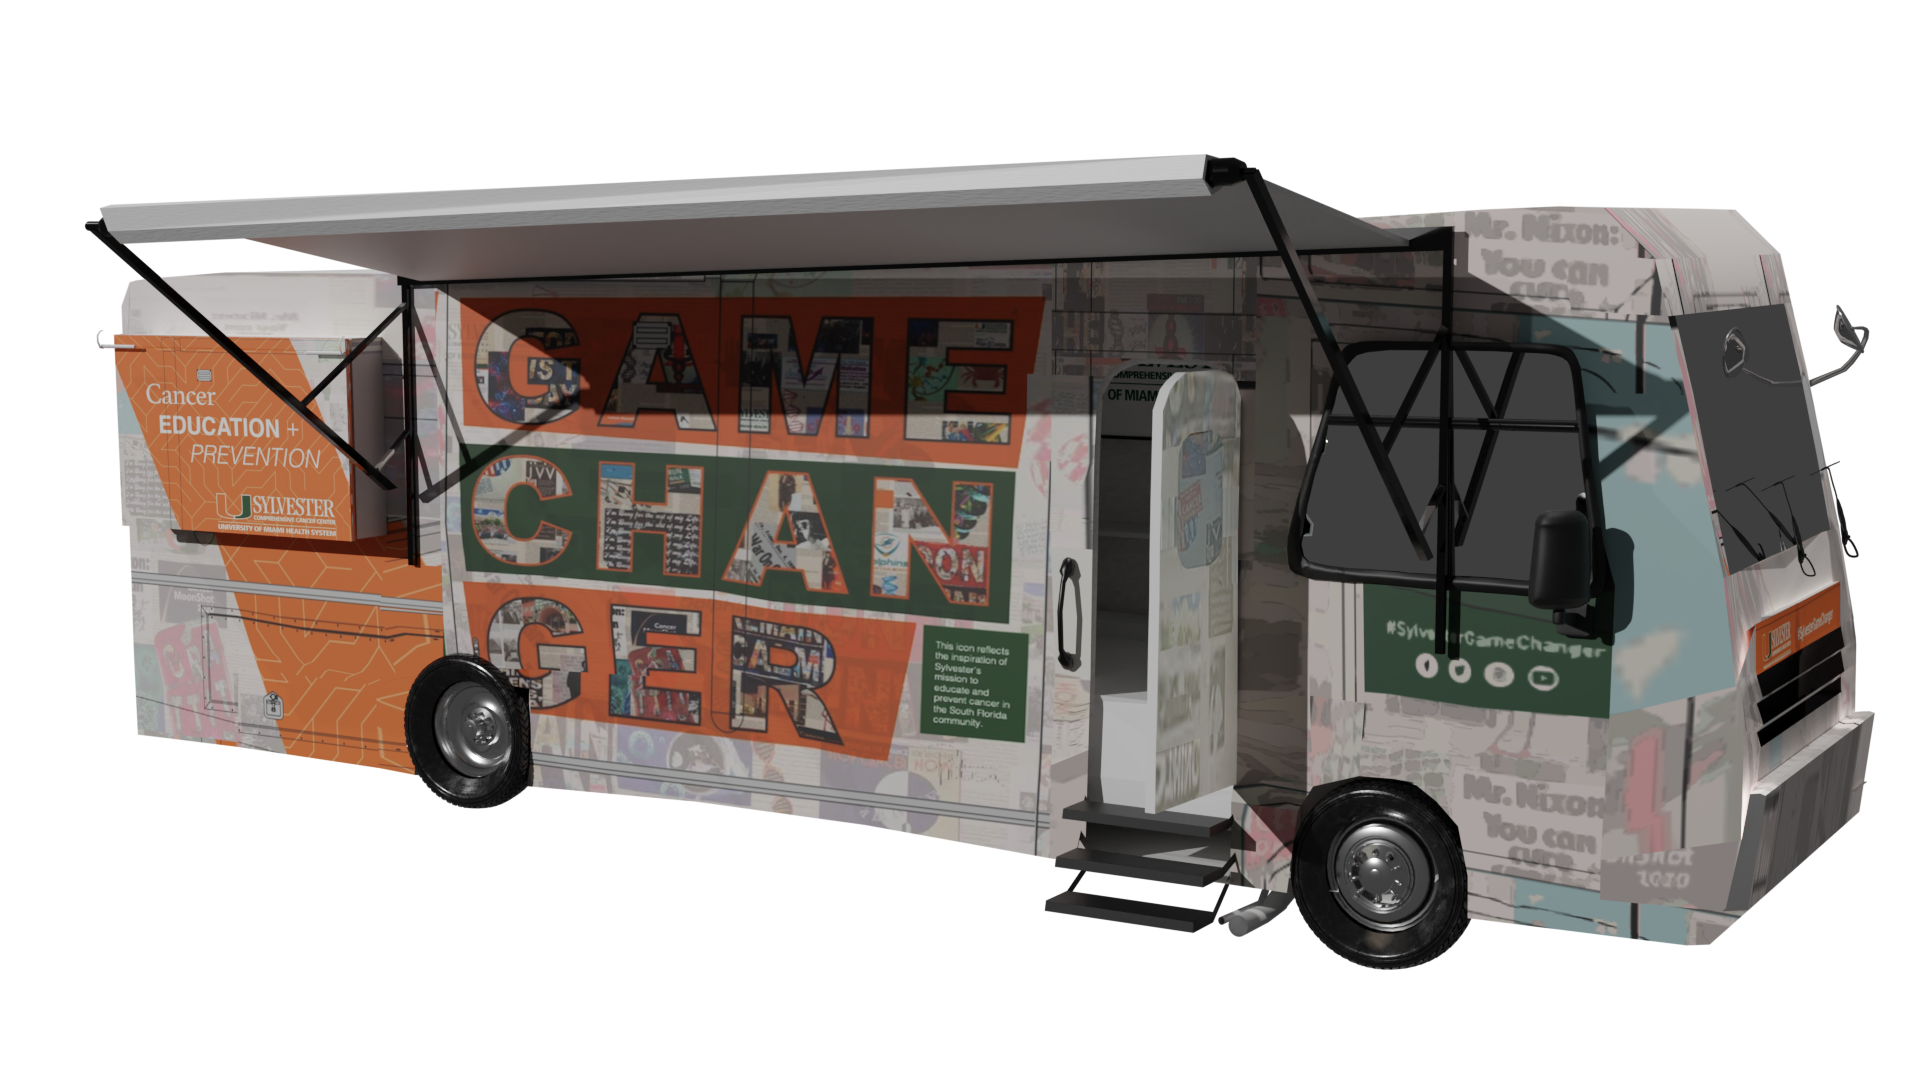
3D Model of Sylvester’s Comprehensive Cancer Center’s GameChanger Truck Cancer Screening Truck.
Part of larger project titled (305).360°, that aims to teach researchers and medical professionals about Miami’s cultural landscape.
Timeline
Nov 2022 - Current (Expected Launch in Fall 2024)
Role
3D Artist, Modeling Gamechanger Truck, Texturing & Baking, UV Mapping
Tools
Blender, Cyclone 360, Unity
Team Members
Interdisciplinary Team: VESL at University of Miami
Introduction
I completed this model for the project, (305).360°, under my role as a 3D Artist with the University of Miami's Institute for Data Science & Computing. Our lab has been recently renamed as VESL (Virtual Experiences Simulation Lab). The team came to me with the ask for this larger model to be made. I worked independently on my task for the larger project.
The Goal
Create a photorealistic 3D model of the Gamechanger Cancer Screening truck to be used in the larger 305(360)° VR Project.
Problem
The Sylvester Comprehensive Cancer Center is currently in need of an engaging learning platform about the Sylvester catchment area (four-county region).
The Sylvester Comprehensive Cancer Center in South Florida is a leader in cancer diagnosis, treatment, and research. As the only NCI-designated cancer center in South Florida, they provide services to a diverse population that varies across race, ethnicity, socioeconomic, and educational levels. Health professionals need to connect and understand the community to provide culturally sensitive patient care and understand the cancer burden of the catchment area.
Solution
An immersive, virtual reality experience the provides a learning platform allowing for easy immersion and access to information about the region.
VR presents an opportunity to engage researchers and stir excitement to learn more about the catchment area. Information will be presented in a meaningful and insightful manner through the use of immersive (360°) visuals, dynamic infographics, data layers, and simulations.

Graphic representing the cachement categories in the project and their expected learning outcomes.
Research
Part 1: Defining My Task as the 3D Artist on the Project
When I was asked to come onto this project, it was specifically to model the cancer screening truck. So, I was able to focus entirely on building this model, rather than working on various models for this project at the same time. My task fell under the Sylvester section of this experience. The Sylvester section of (305).360° was concerned with allowing users to explore the cancer institute, learn about Sylvester’s mission and community impact, and navigate through the cancer data page on the Scan360 website.
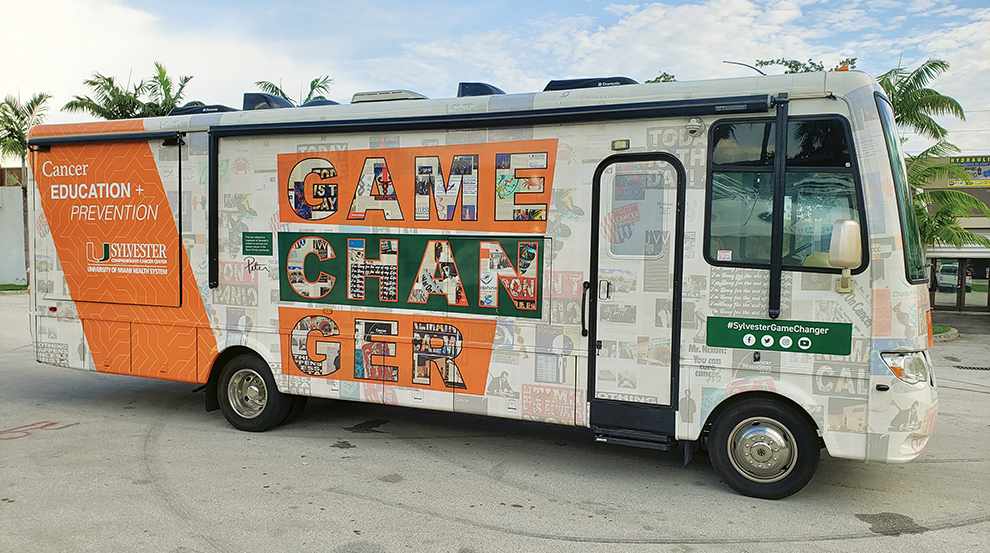
Image of the truck that I was tasked to model.
Part 2: Determining My Process to Tackle This Model
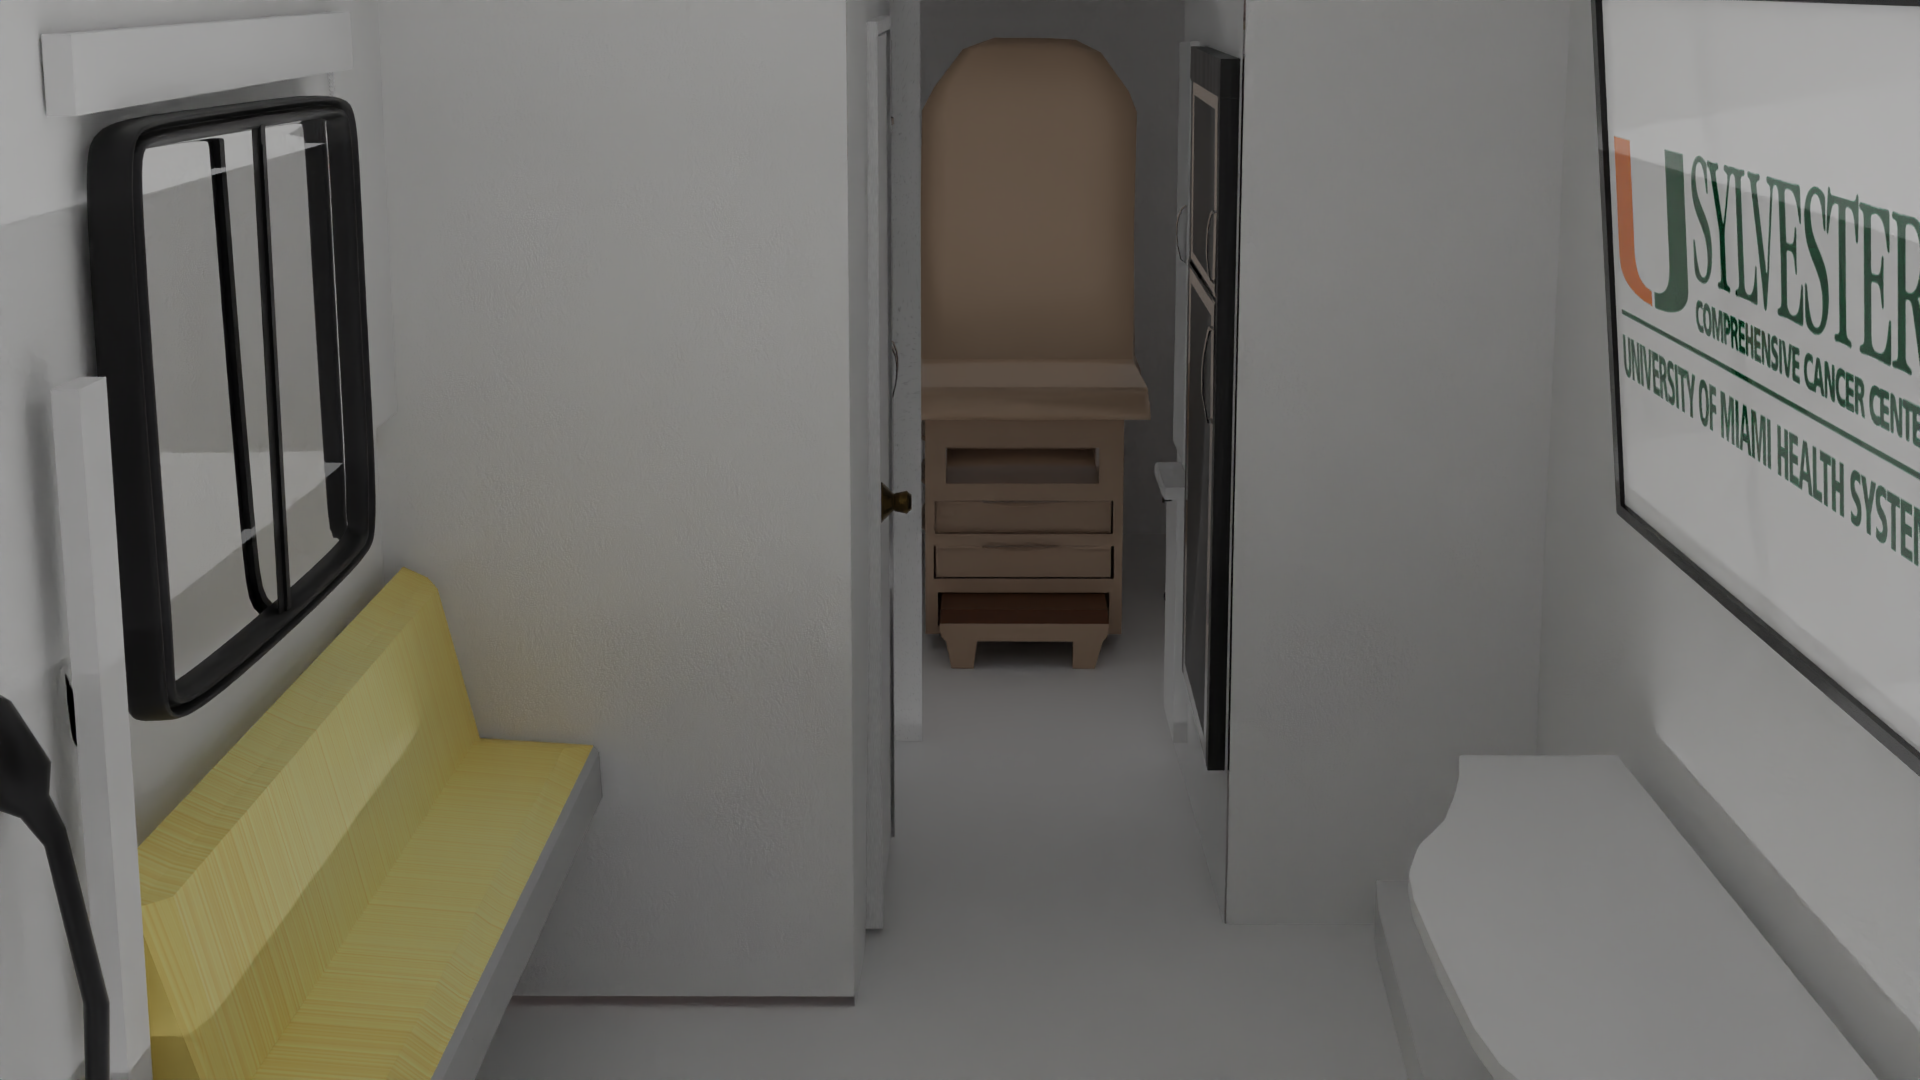
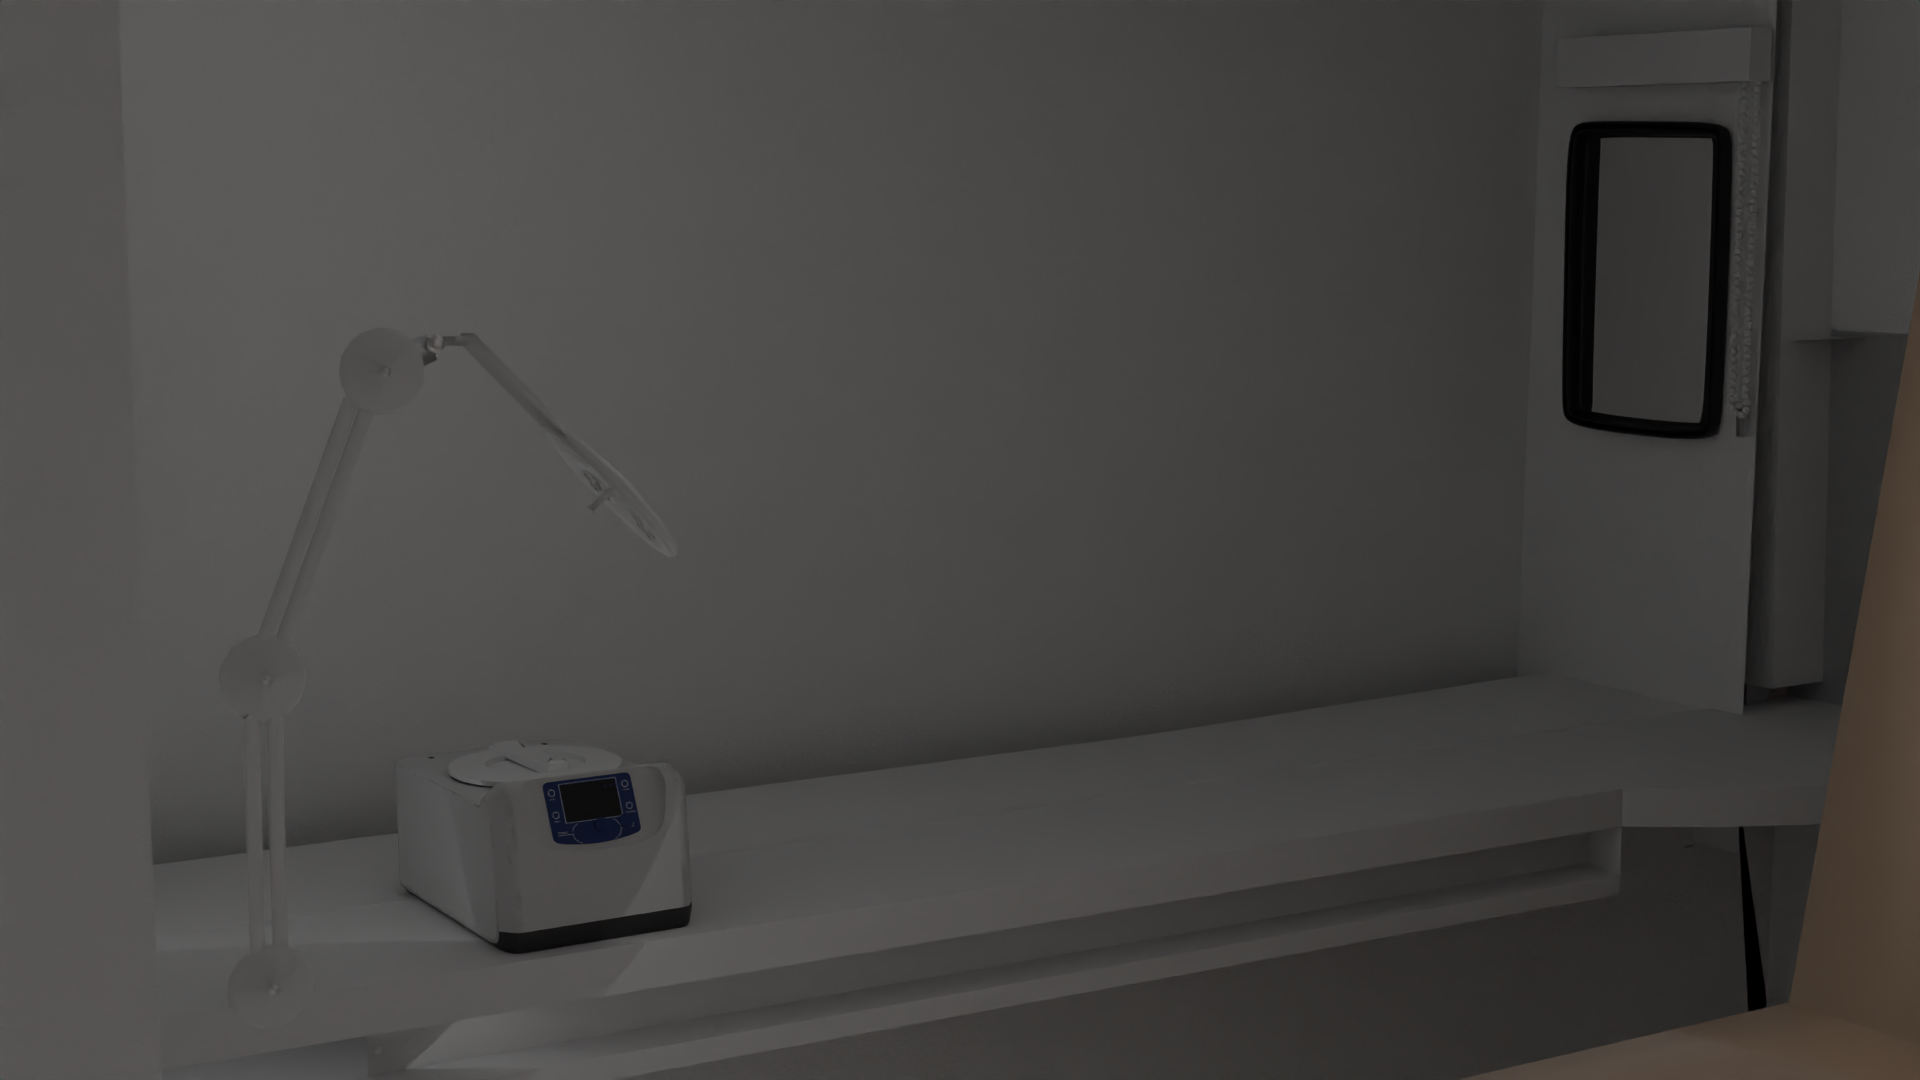
I knew that taking on modeling this truck would be something that would require more structure in terms of planning and approach to modeling than I usually employed. There were so many gadgets, objects, etc. inside the truck that I had a meeting with the project manager to determine which interior elements would be needed based on where users would be and what they would be able to interact with.

Part 3: Collecting Reference Images at the University of Miami Medical Campus.
As a 3D artist, one of the most important steps when beginning to work on a model, especially one that needs to look realistic, is to collect reference photos. So, that's what I sought out to do first. Although, the initial plan for this project was to work with point cloud data, I still wanted to collect photos for myself to catch small details. I went with the intention of taking as many photos as possible and to take images of each element from all possible angles. By the end of my trip to the medical campus, I had over 400 images to refer to.
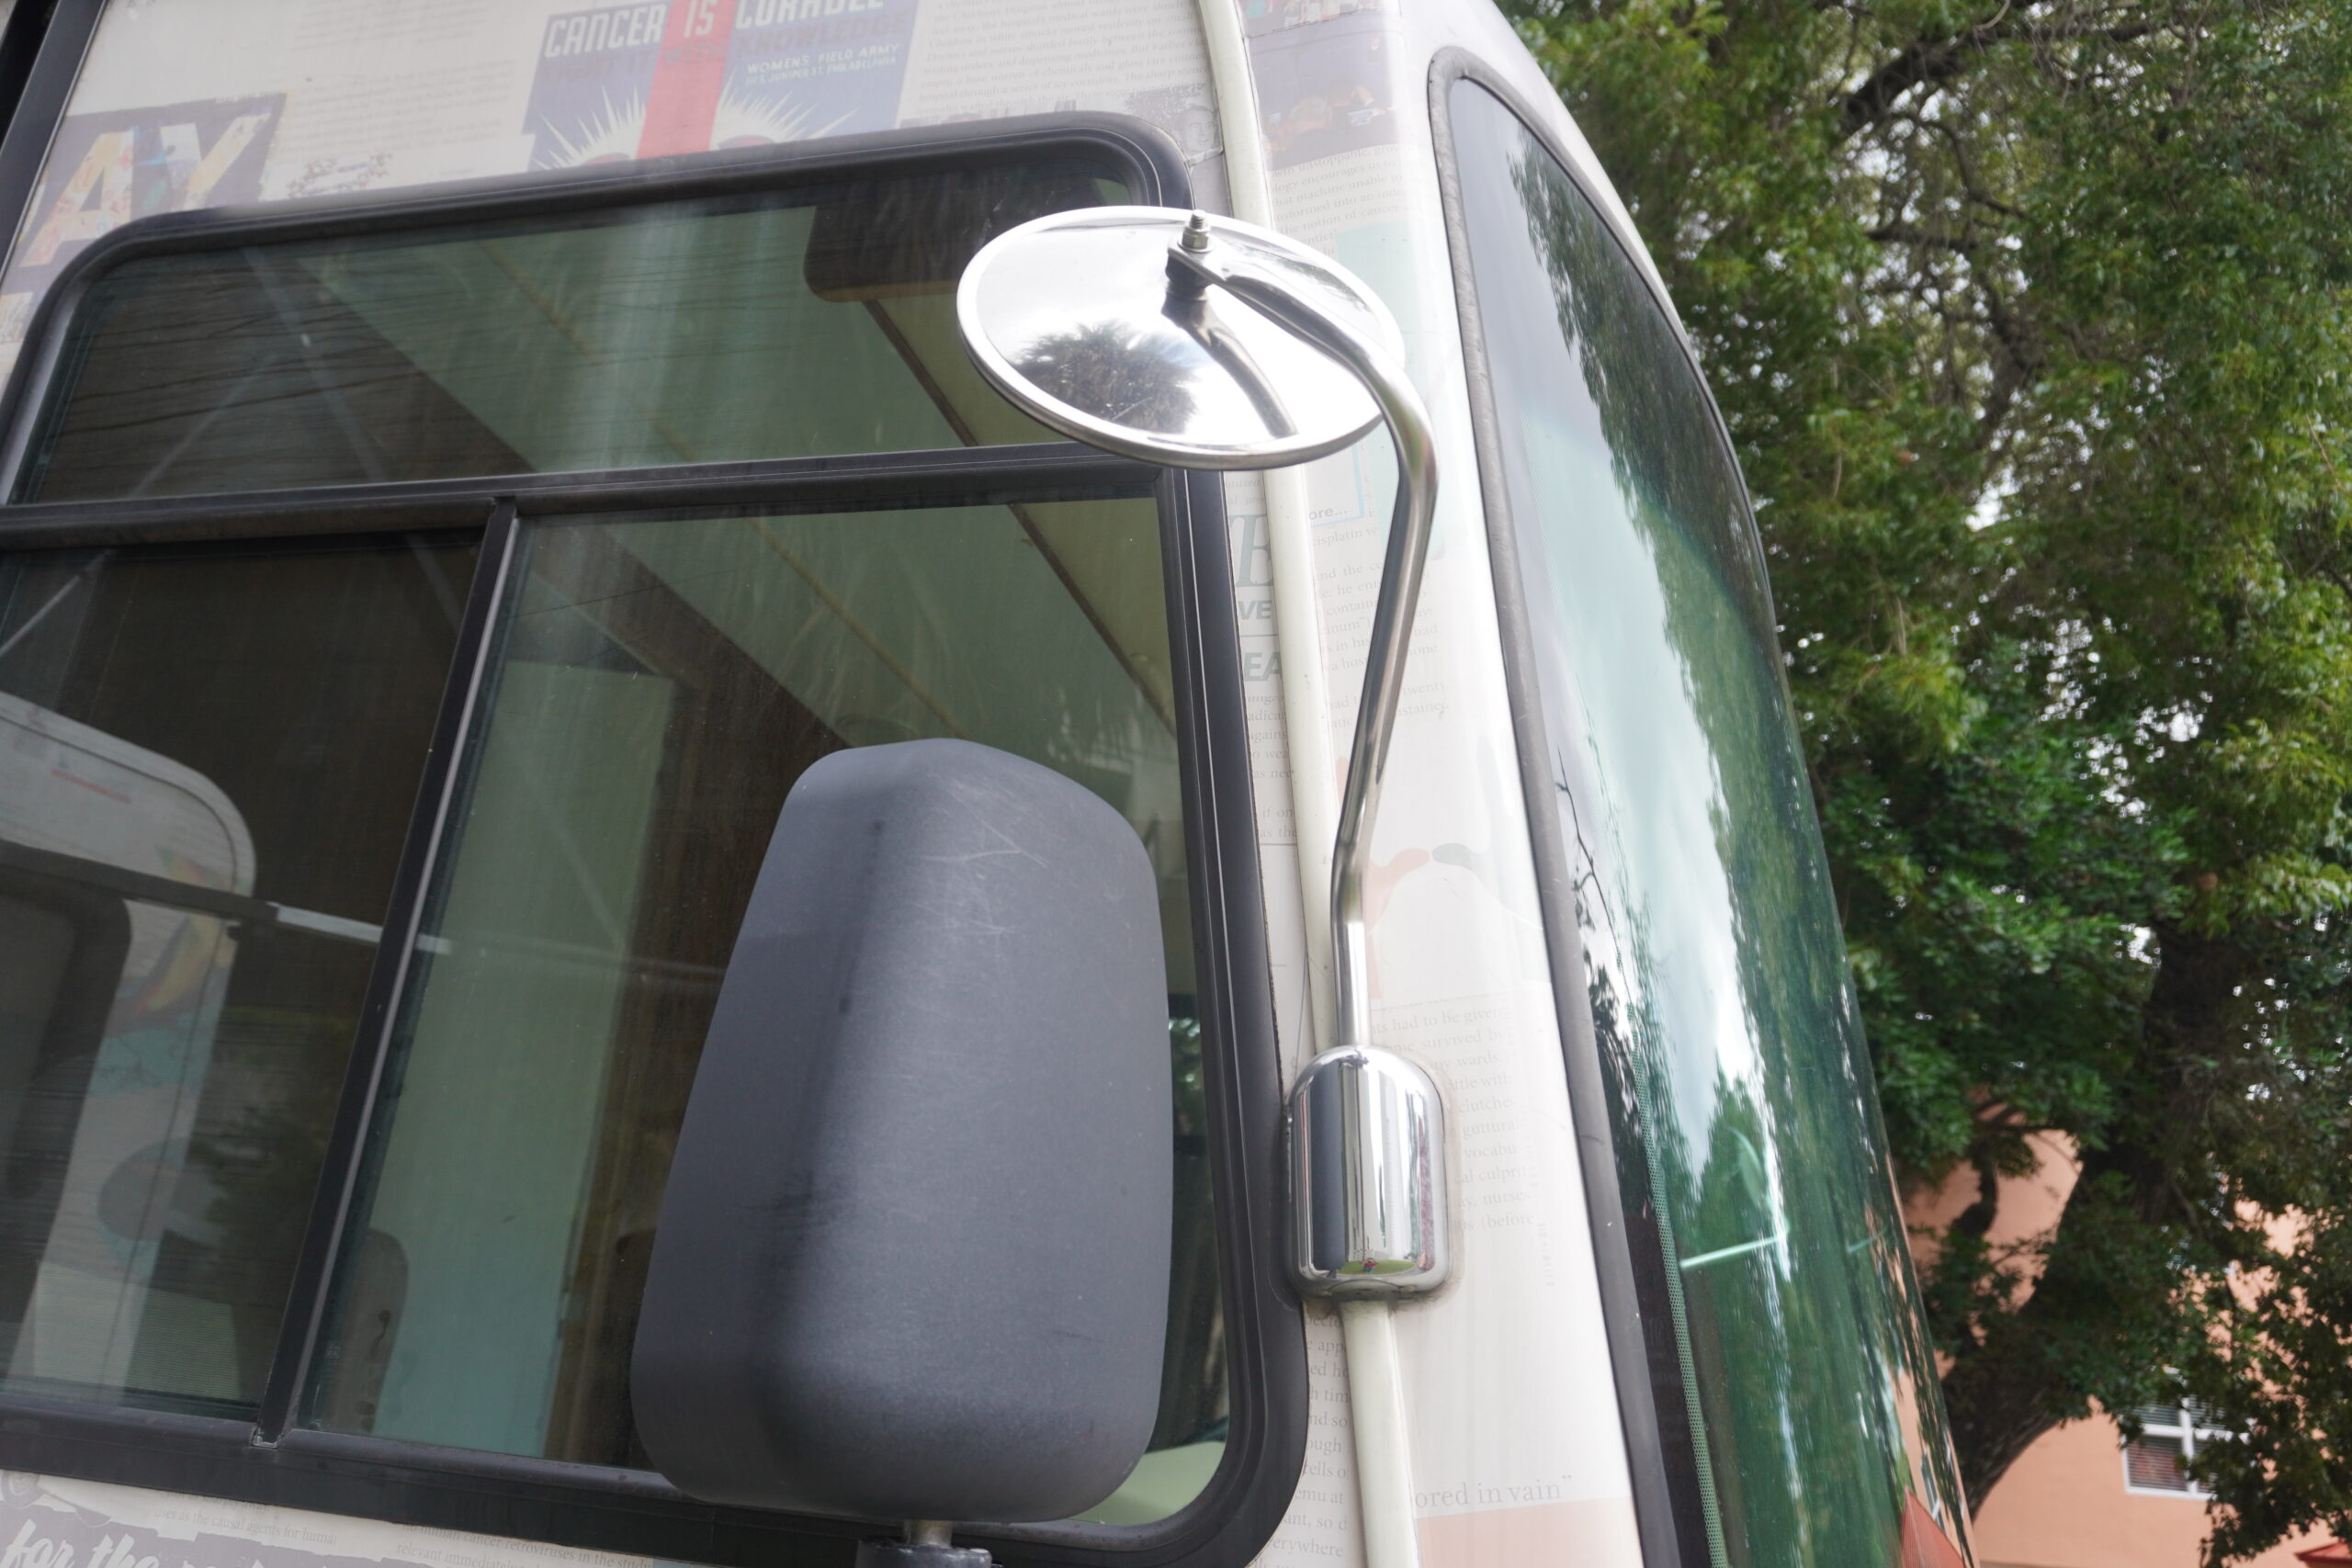
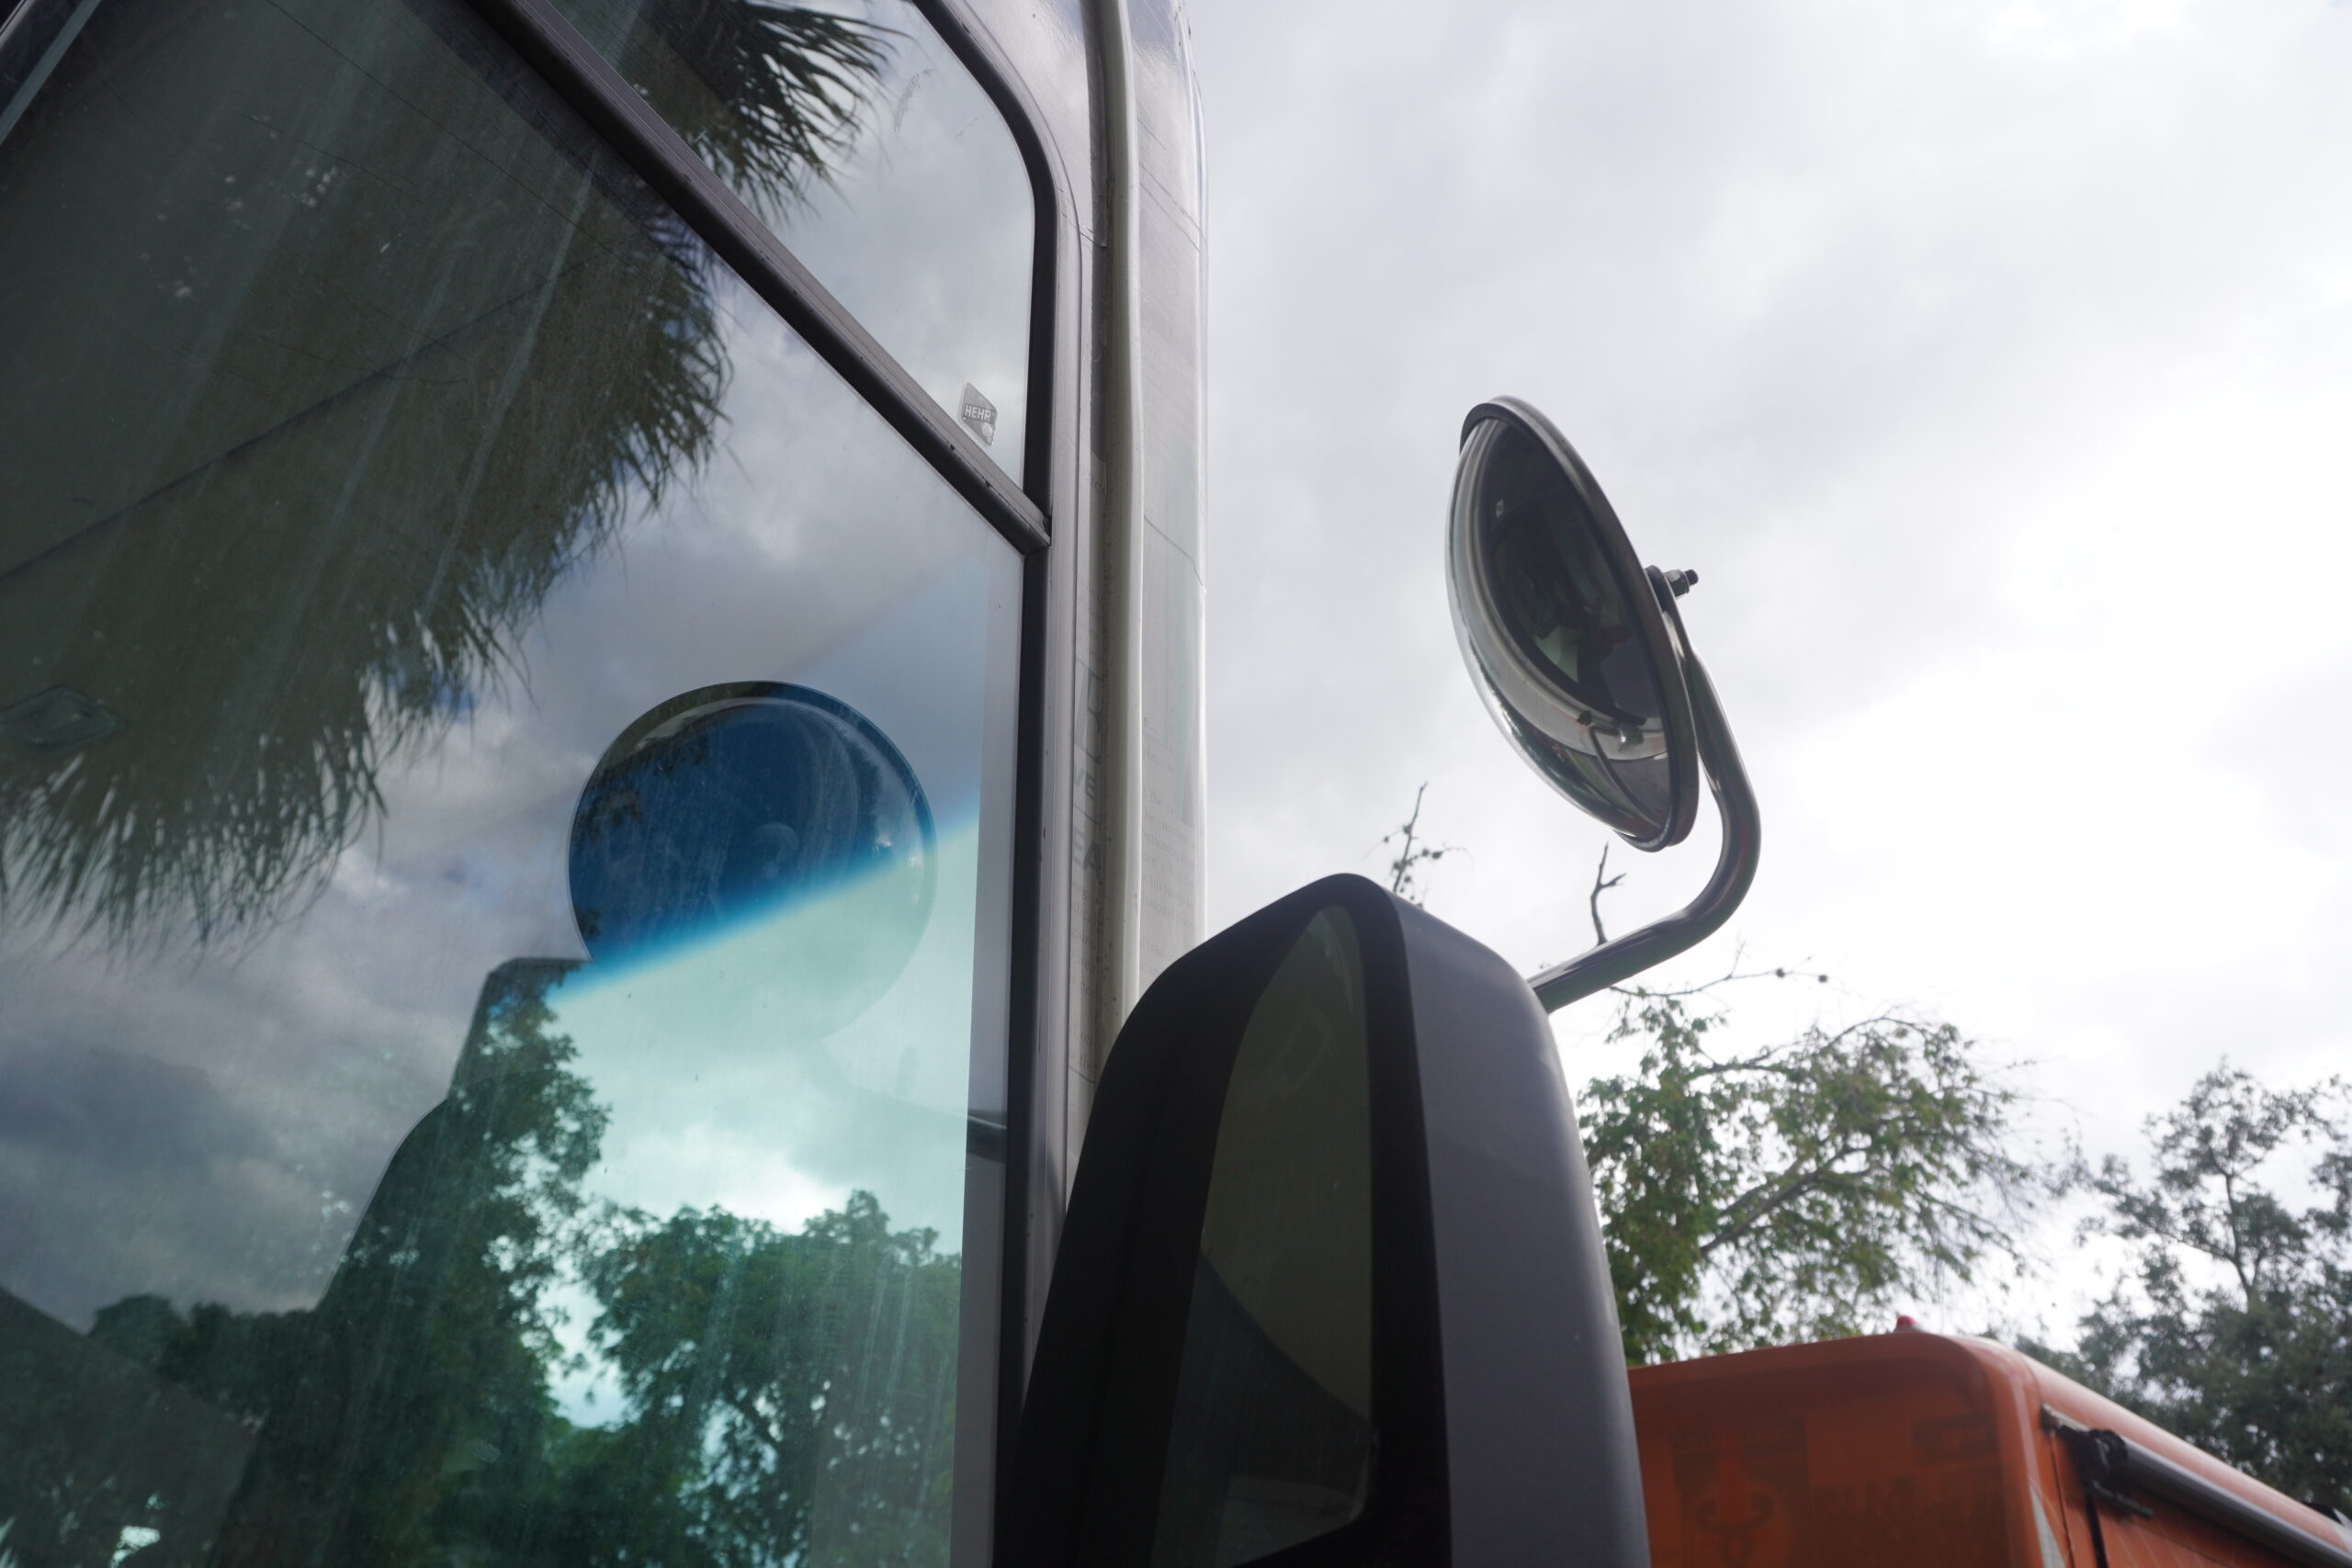
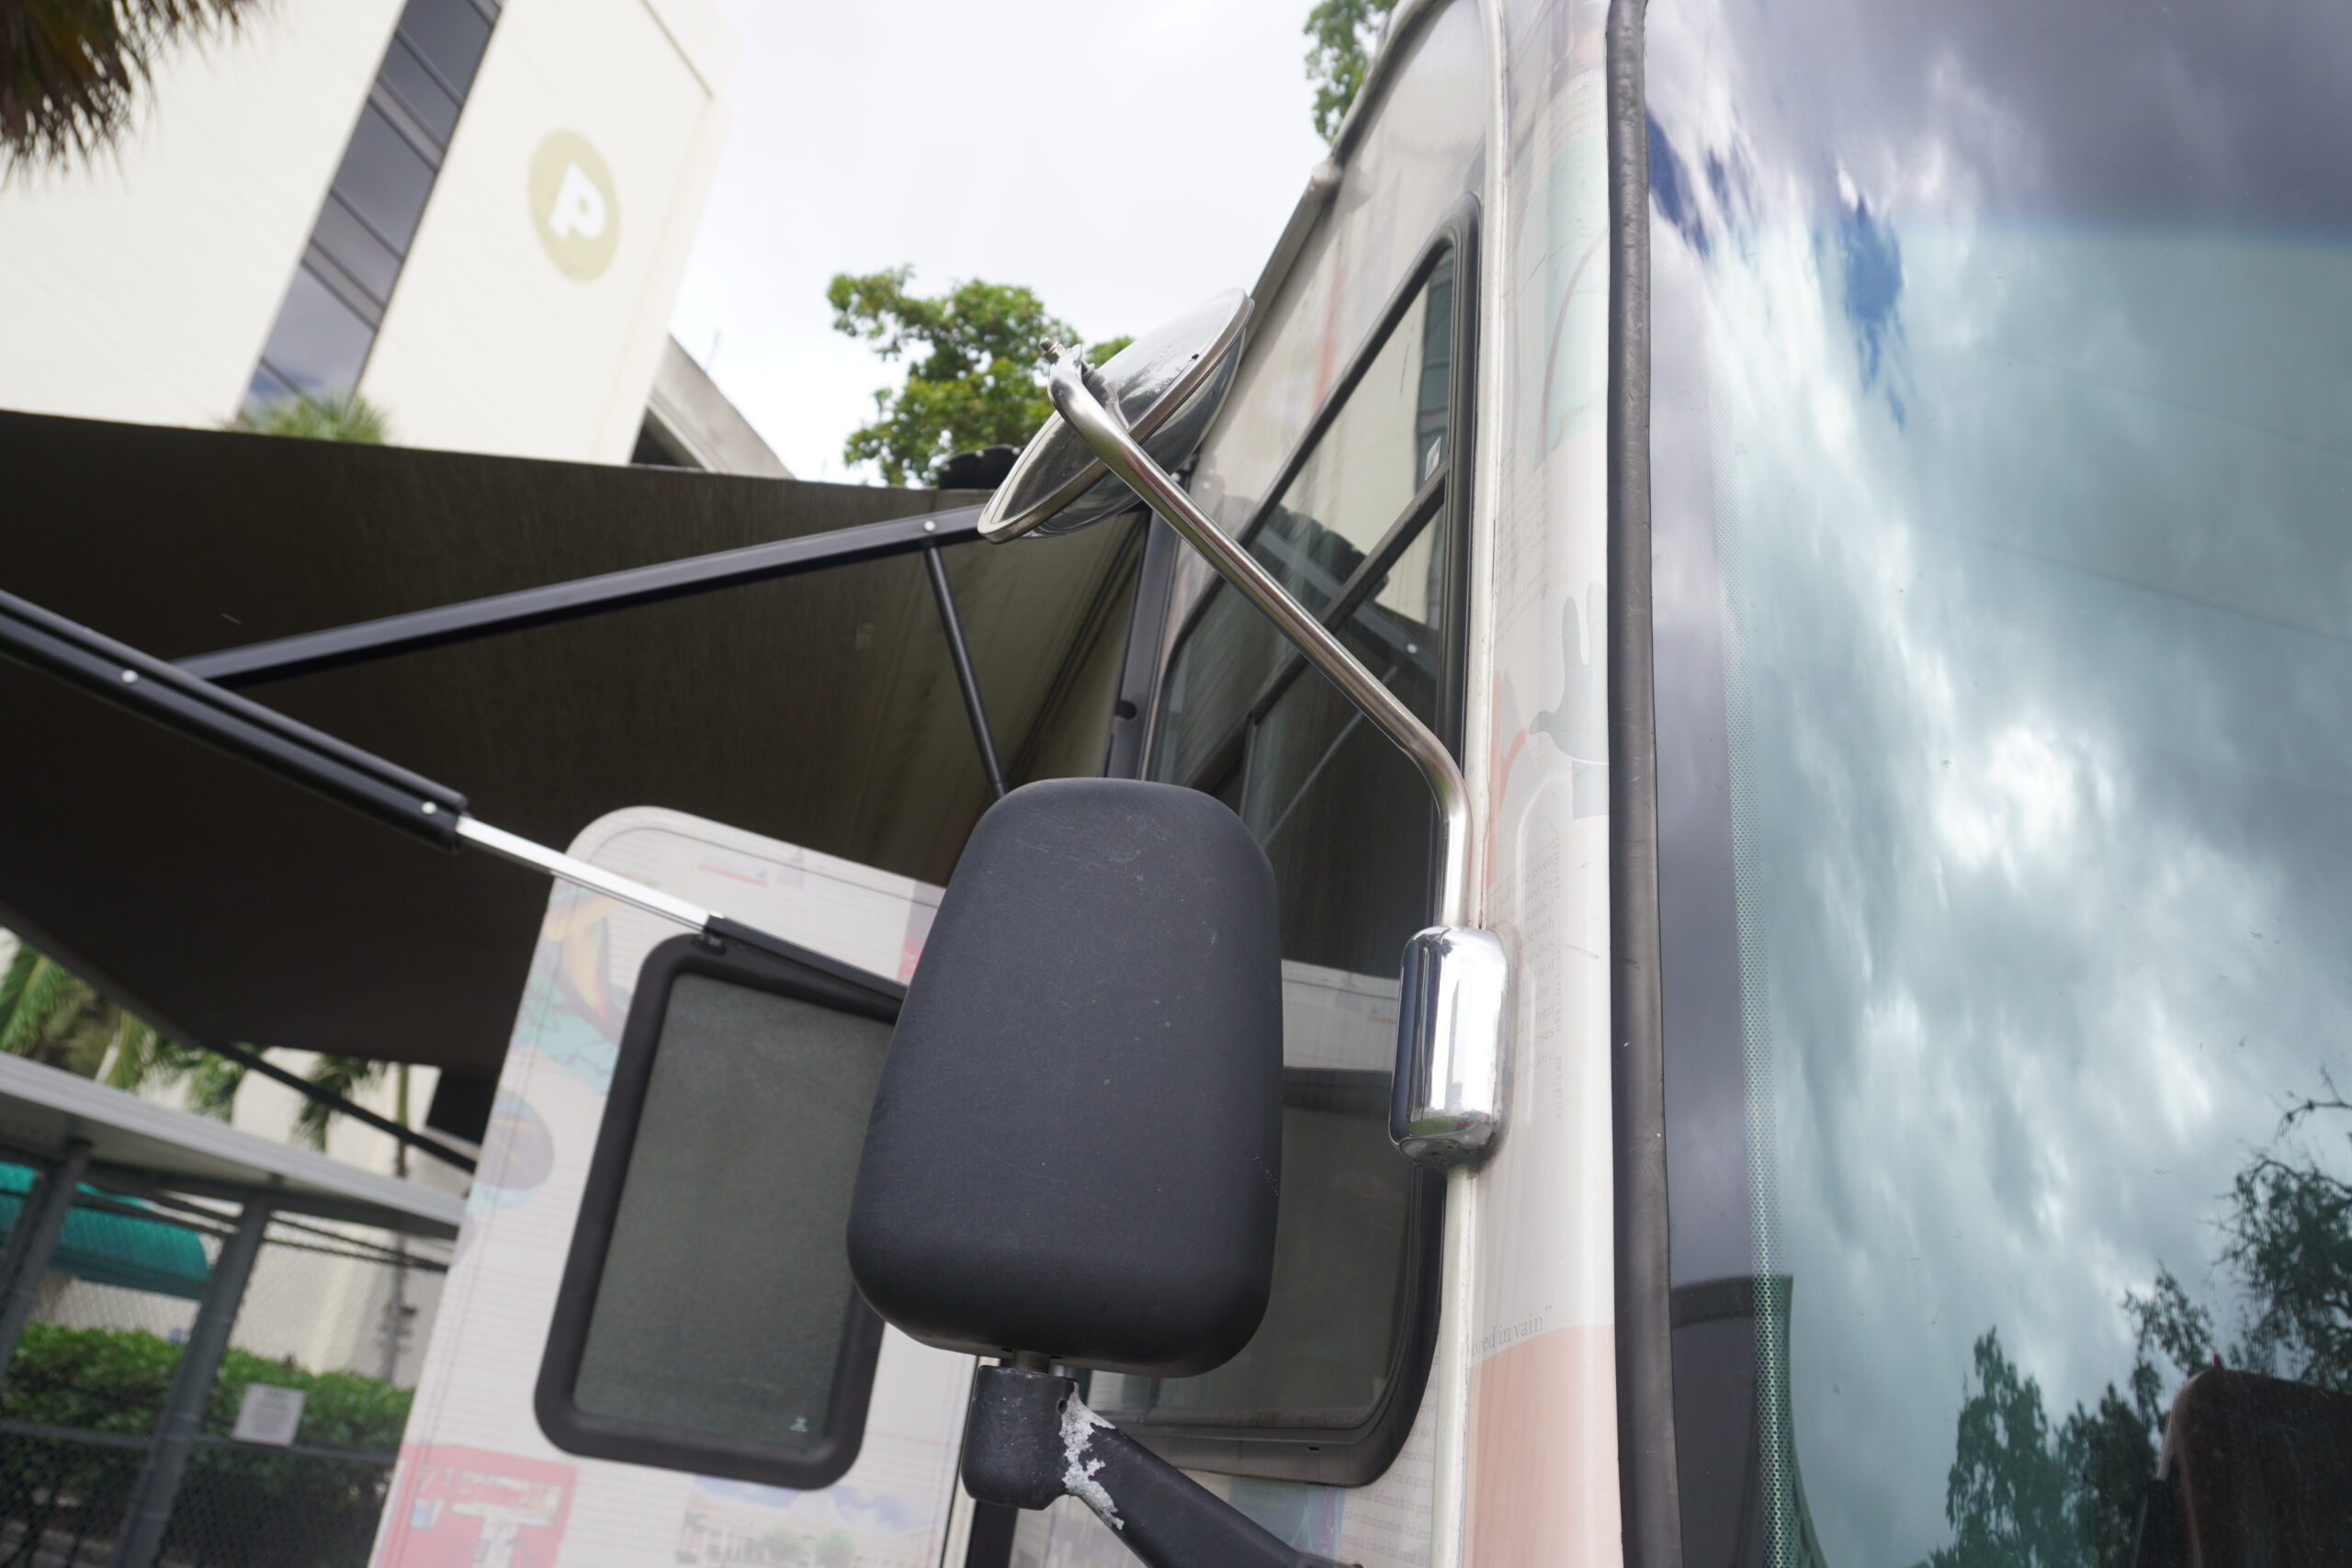
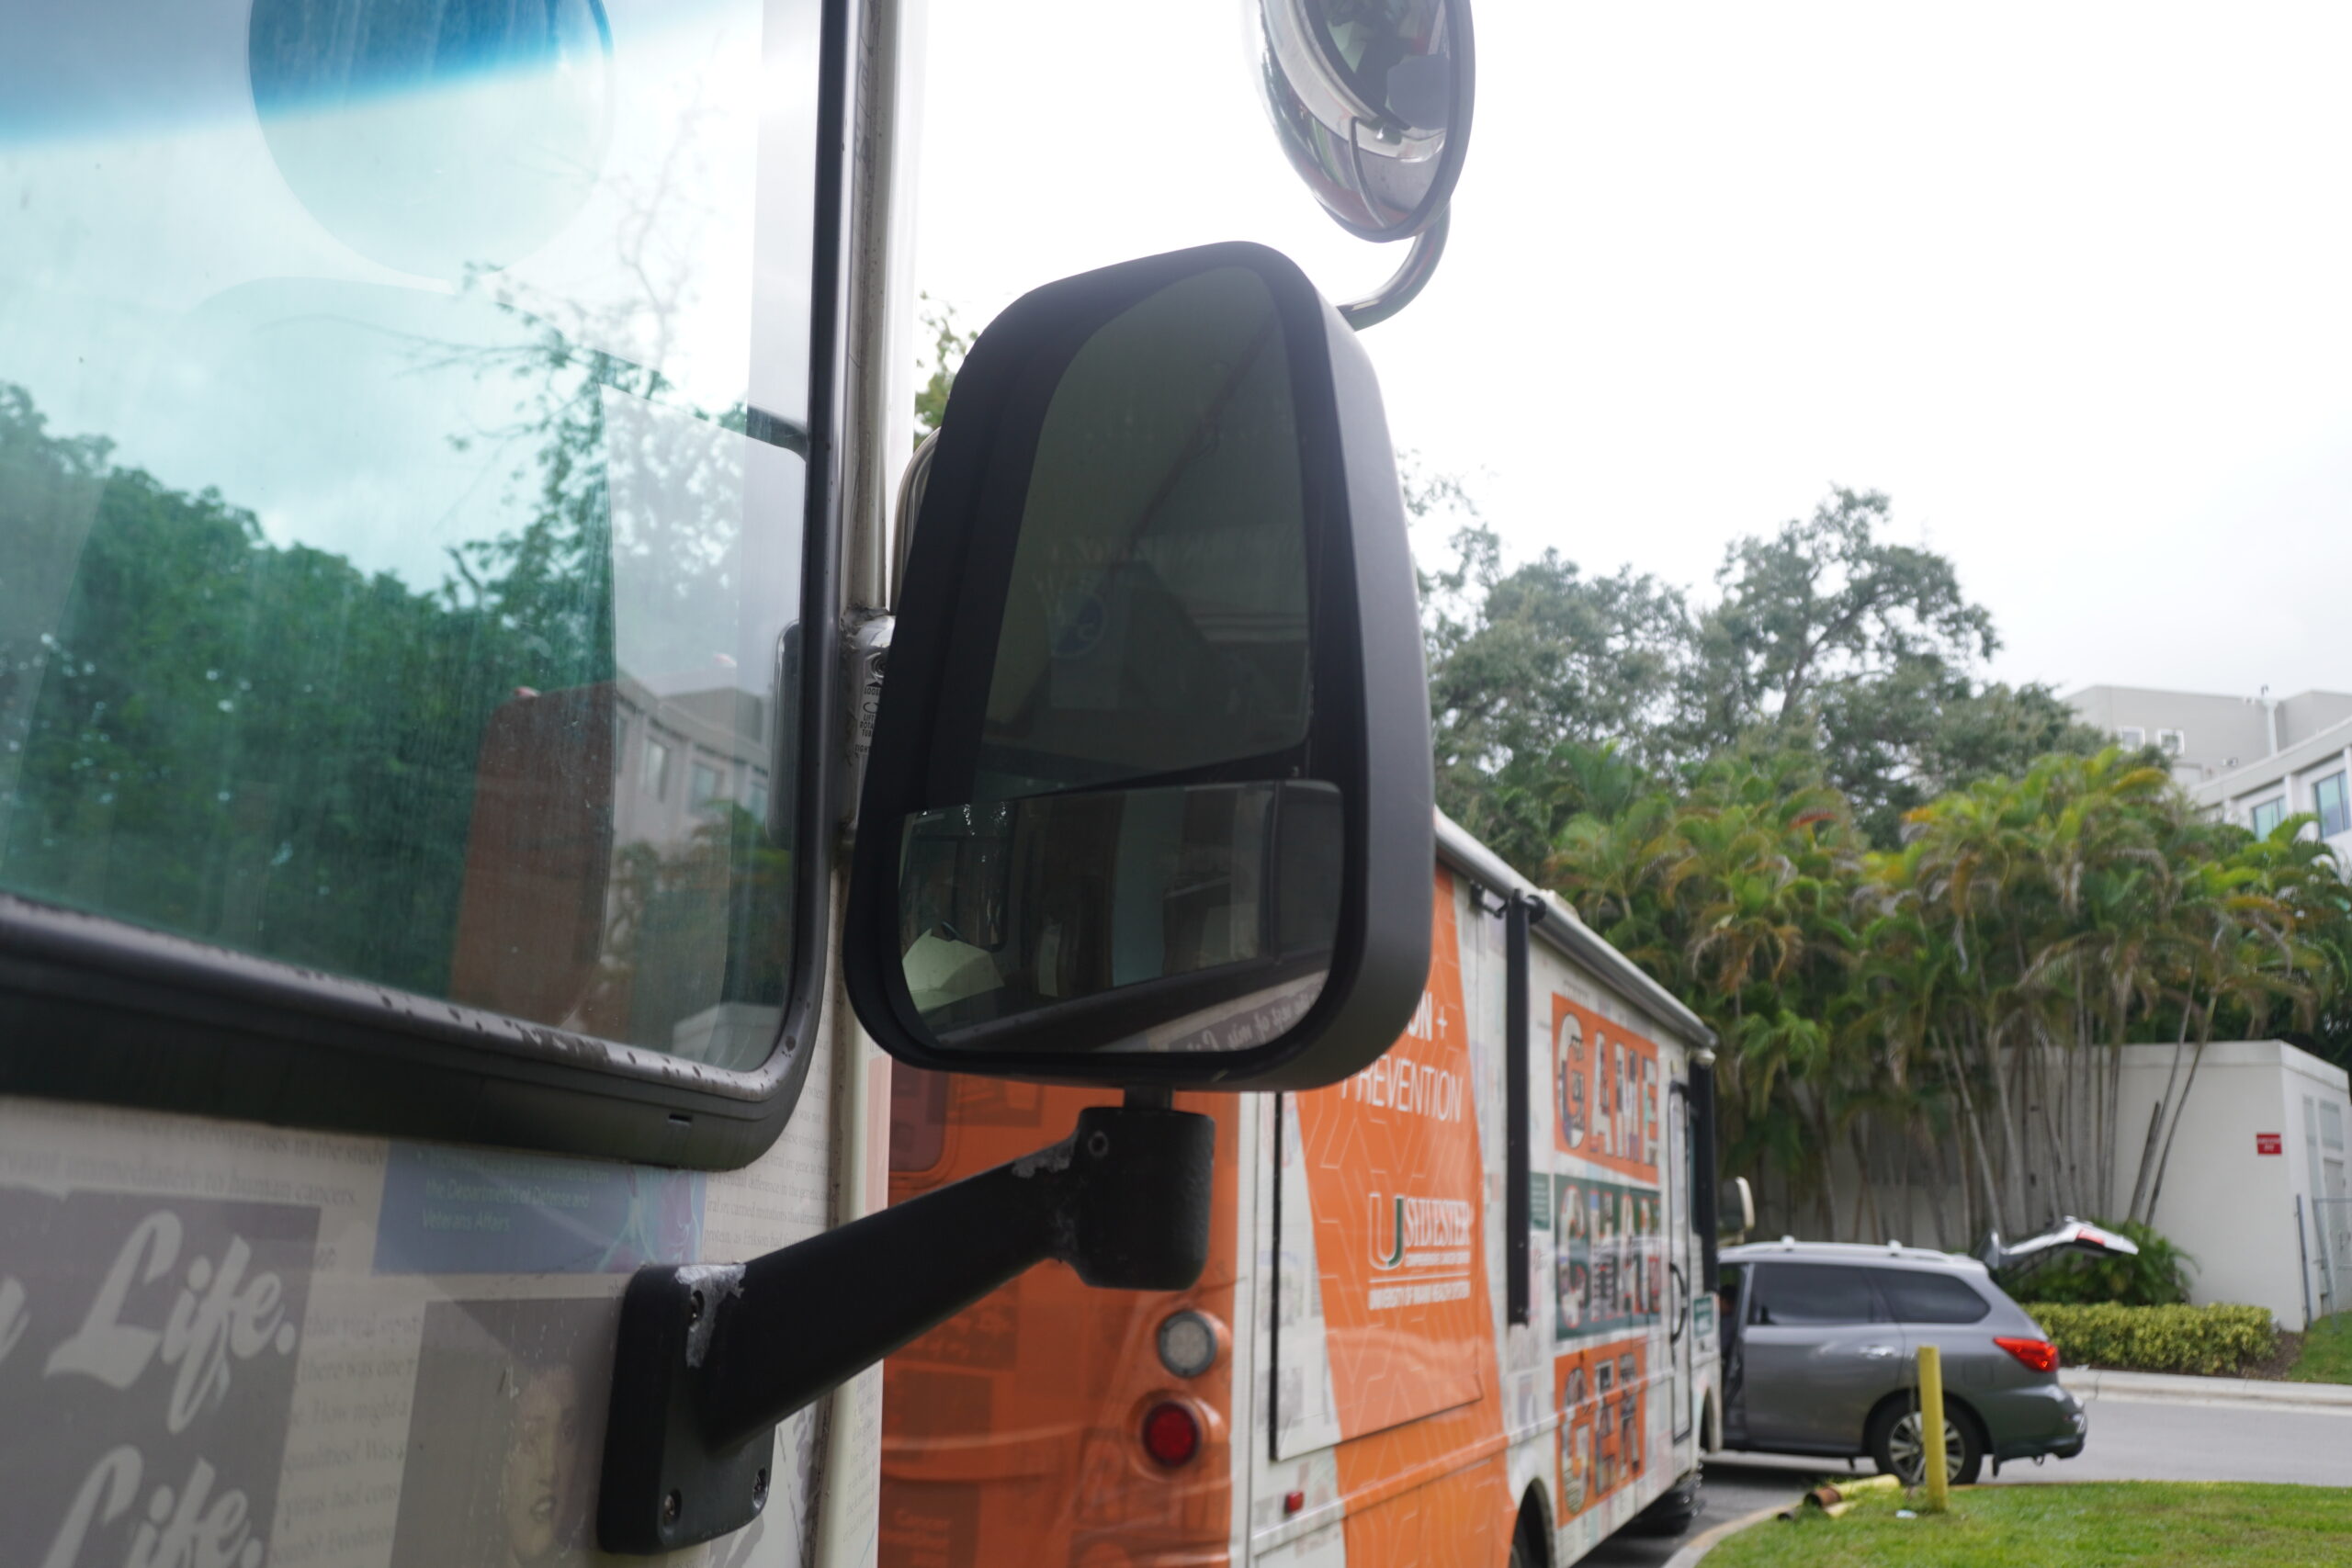
Pictured above are some of the reference photos that I took on my visit. Specifically an example of the pictures I took of multiple angles of the side mirror on the truck to showcase what I did for each other element.
Ideation & Design
Part 1: Reworking The Process
My original idea for approaching a model that needed to be as realistic and detailed as this one was to use the point cloud data I collected to model on top of. Unfortunately, the point clouds did not come out too ideal for this process, so I needed to rework how I would approach modeling the truck. Ultimately, I decided that the best solution would be to use the point clouds along with the many photos I took as references.
Part 2: Modeling the Truck Piece by Piece
Working with something as big as this truck, I felt that it would be best to break up the model into sections or pieces that I would work on separately and then bring together at a later date. At this stage of the project, I was focusing on ensuring that the truck stayed as low-poly as possible, but also preserving some of the necessary detail for the truck as well as creating realistic materials/textures.

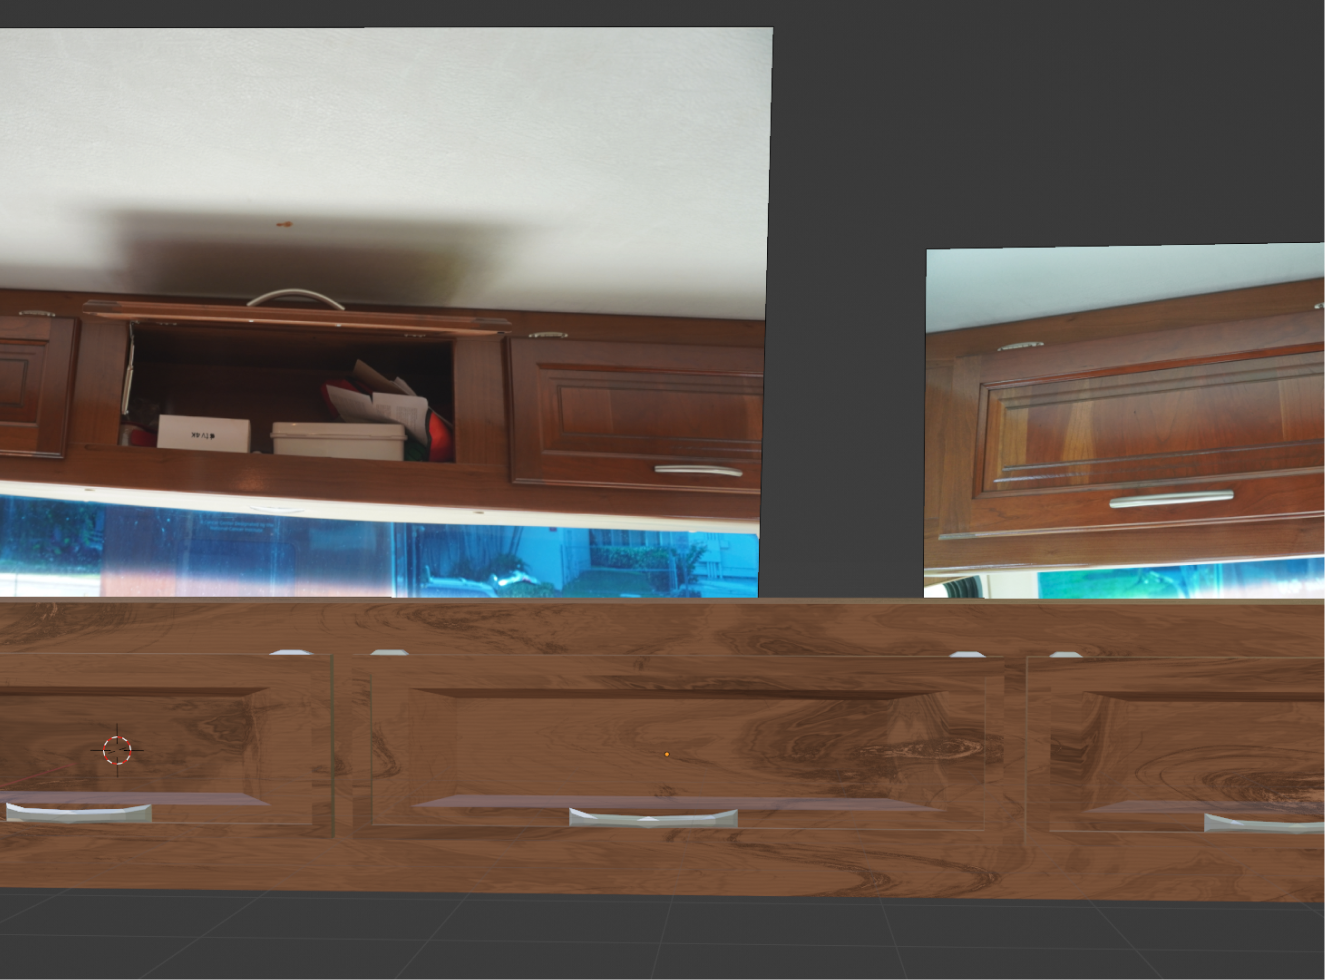
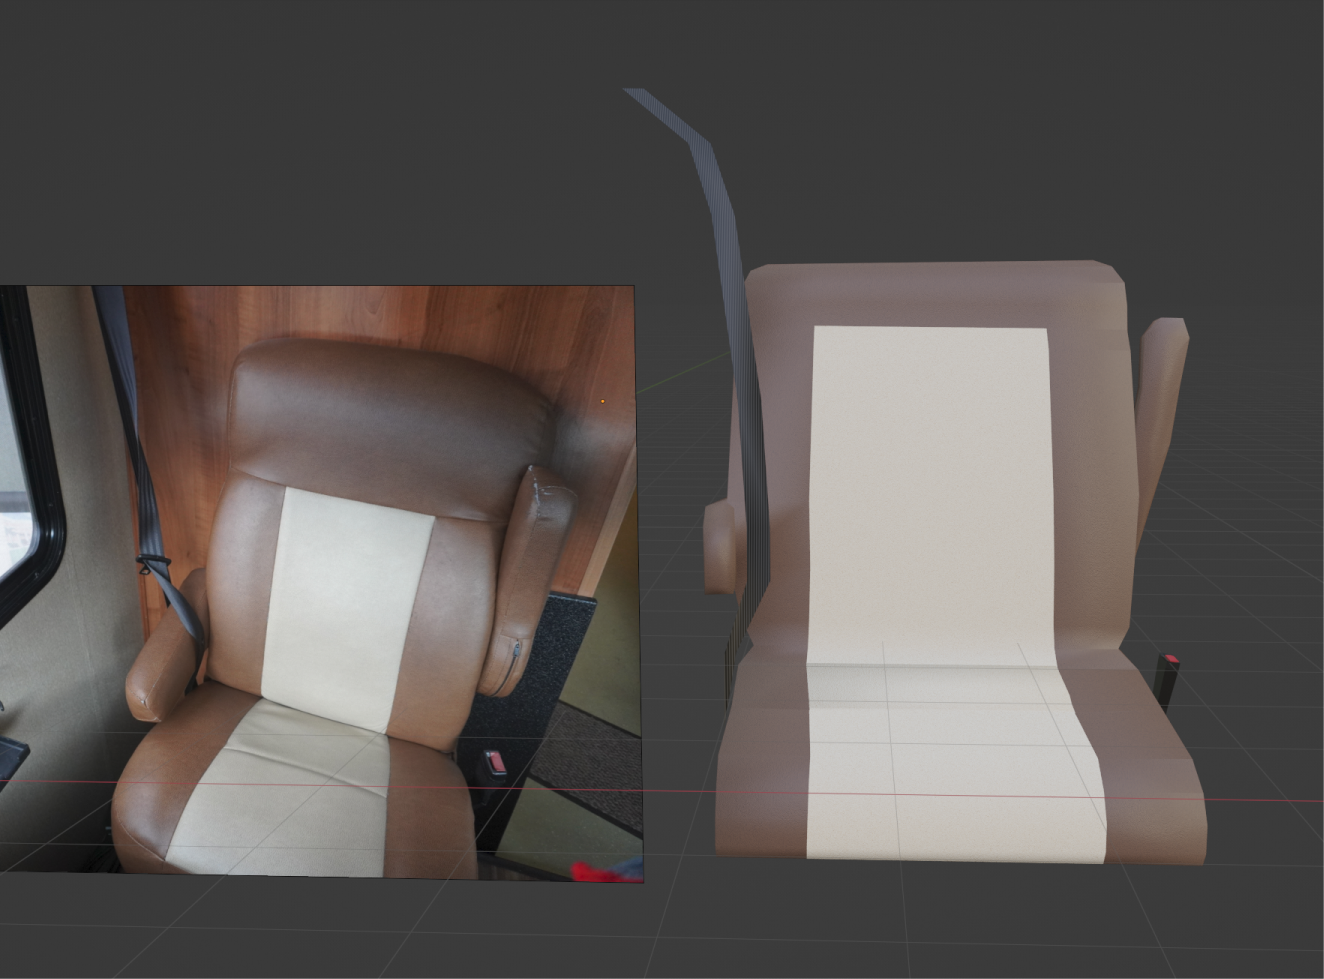
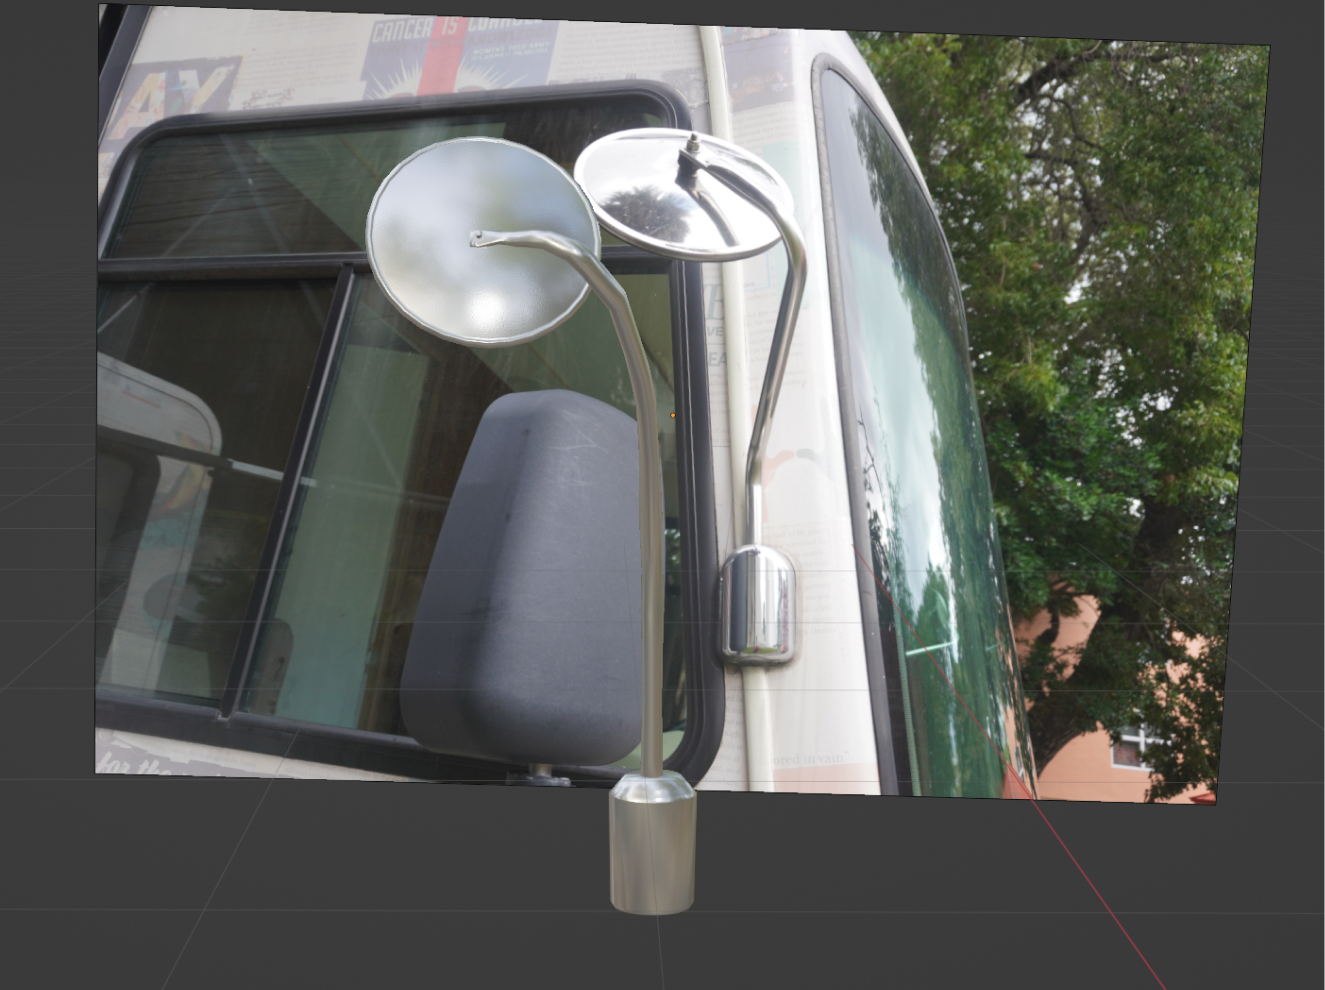
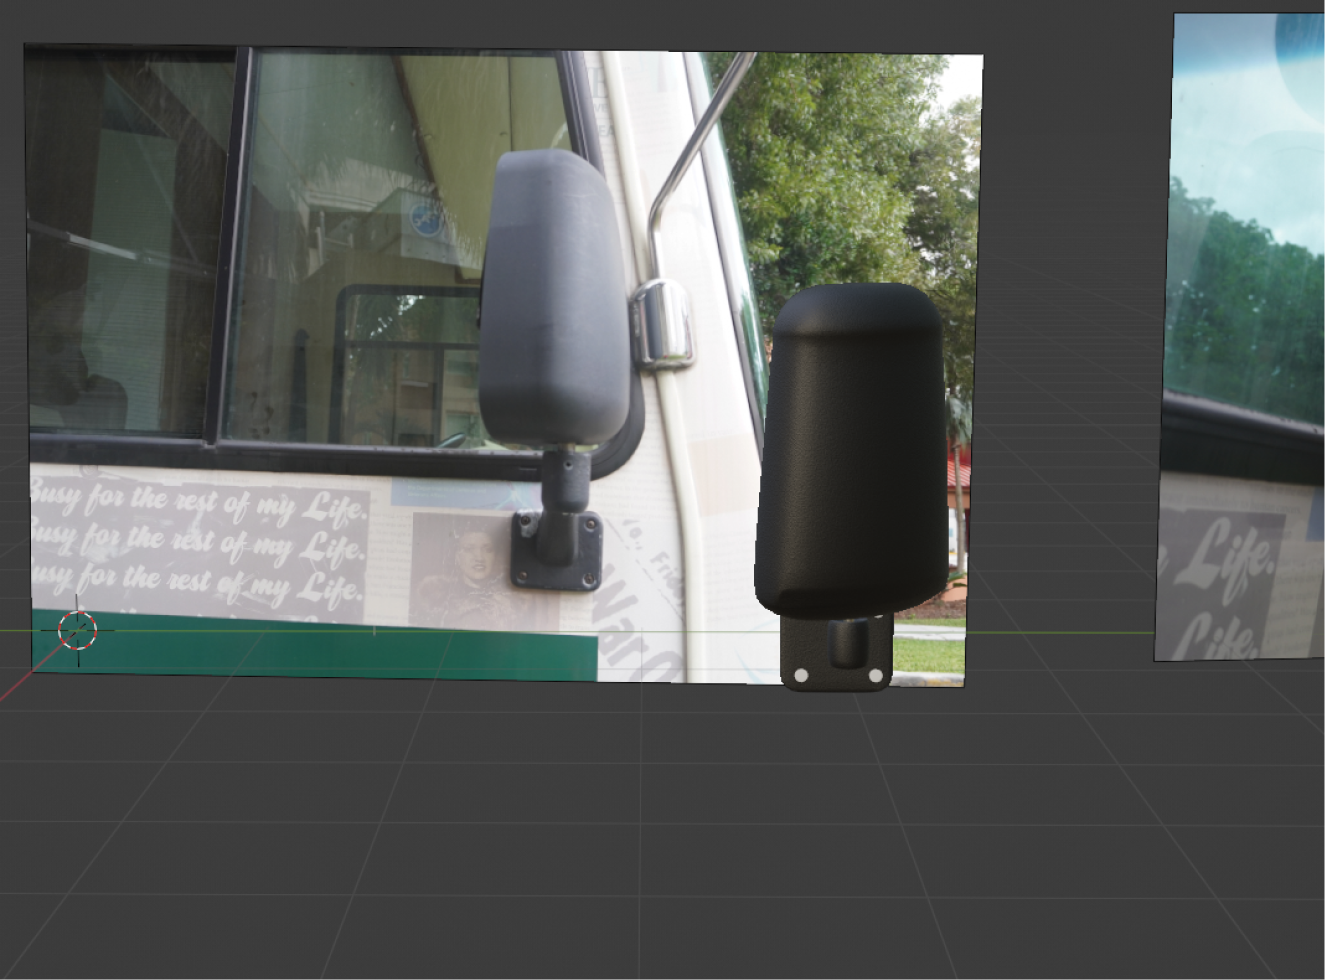
Pictured above are some screenshots of some of the individual models that I made before bringing them all together (in material preview mode).
The Final Design
Bringing it All Together
As the deadline for my task to be completed was approaching, I decided to bring everything together and then finish modeling the rest. It was at this point that I began my work on the exterior. This proved to be a welcome challenge because it allowed me to learn how to do proper UV Mapping as the texture on the exterior of the truck was very intricate and I was working with image textures.
When I finished with the truck, I then went into the handing off stage; giving the model over to developers and packaging everything nicely for importing to Unity. This included: exporting the truck and its pieces, baking the materials and texture maps, and ensuring the normals were flipped the correct way. This stage included some troubleshooting when meshes weren't appearing correctly or textures weren't applying correctly.
Conclusion
Reflections
What I Learned. Throughout this project, there were many times when I needed to adjust my plan as I went. I think it was valuable to have the plan to begin with, but it was also a great practice in being flexible. I also learned throughout this process different skills and modes in Blender. For example, this project was my first time working with the UV mapping, modeling the interior and exterior of something, and working to make something photorealistic. I used a mixture of online tutorials and simply trial-and-error, which was really fun to do.
Working Tangently to a Larger Team. I worked pretty separately from the rest of the team. In some ways, this helped me to focus primarily on my task, but I do think I missed some necessary details about the larger project as a whole. For this reason, I made sure to go to the larger team when I had questions about the overall experience or the goal/plan for the interactions with the truck; as these answers would inform some of my choices when building the model.

